My first bike touring experience was in 2011. It took Rafi many, many years to convince me to join him and his friends for a tour. I agreed mostly because the planned route was only about 500 km. to be covered in 8 days. It was supposed to be a one of a kind experience, just to get Rafi off my back. The organizers of the tour were the members of the Der grüne Weg cycling club from Wuppertal, Germany.
So, I took my old Trek hardtail mountain bike, put some racks and mud guards on it, switched the tires to slick road tires and I was ready to go.
That trip was uneventful most of the time, almost no mechanical issues and only one flat. But, for the whole length of that trip I was lectured day in and day out about the fact that my bike is not suitable for multi-days tours – it has small wheels (26″and not 700c), the sitting position is not relaxed enough, the alloy frame is too stiff, the saddle is not good enough and so on….
Two years later we get another invitation to join the Wuppertal gang in a cross-Germany tour of about 1,000 km. in 12 days. The moment I agreed to participate in that tour I decided to build myself a dedicated touring bike.
This is when Rafi started to lecture me about touring bikes:
Lesson No 1: the frame must be a steel frame; a bike made of any other material is not a touring bike (he rides a touring bike with an alloy frame to this day but never mind...)
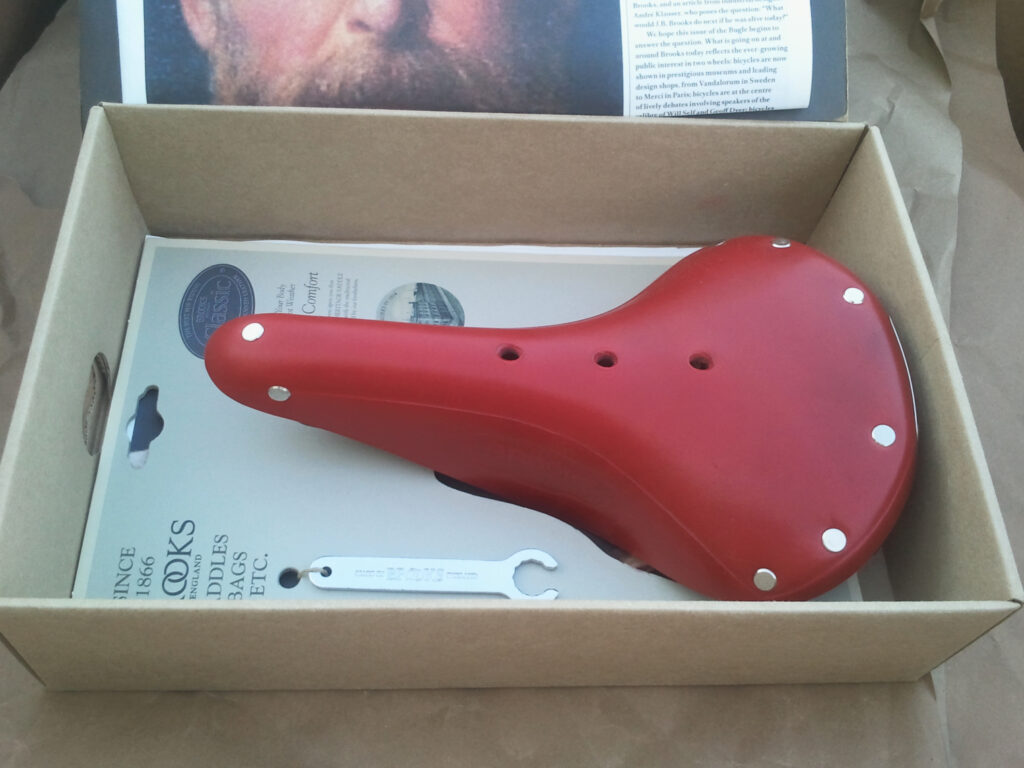
Lesson No. 2: the saddle must be a Brooks saddle
Lesson no. 3: the tires must be Schwalbe Marathon tires.
These are the framesets I considered while looking what’s available:
PlanetX KaffeNBack - I really liked this frame, the reviews I read were great, but I could not find it in my size
Surly LongHaul Trucker - at the time there was no disk brake option so I moved on
Soma Fabrications, different models - could not decide if I like any of them or not
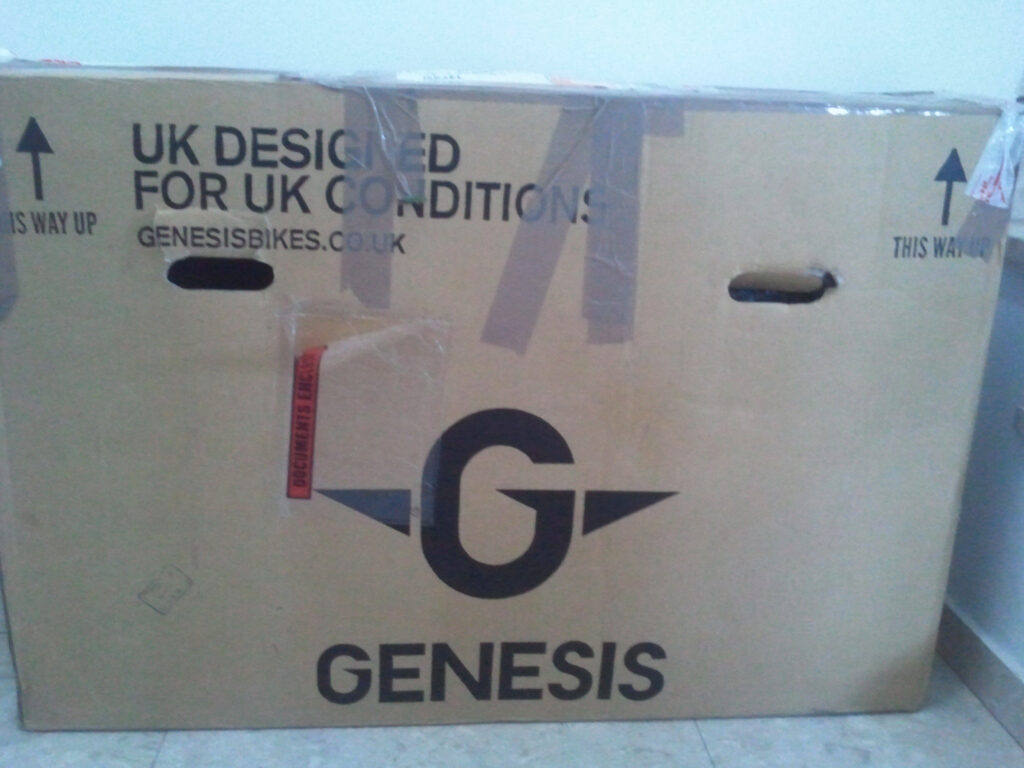
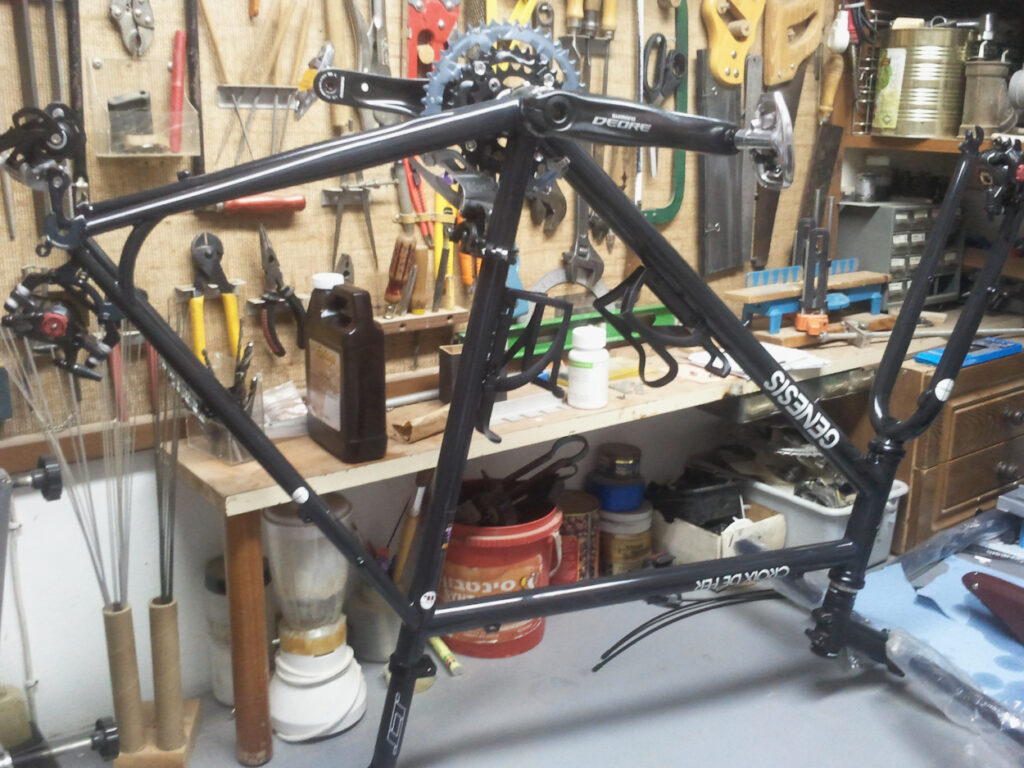
Genesis Croix de Fer - this is actually a cyclocross frameset; not exactly my dream frame, a bit heavier than what I was looking for, but yes steel frame, yes disc brakes, yes in stock, yes meets budget. So I placed an order.
Next phase - components. Given the fact I am kind of lazy, out of shape and overweight I decided to go with what I know best - mountain bike components. I ordered a full set of Shimano Deore 3X9 drivetrain, wheel brackets and brake rotors. Also, I decided to go with a set of Avid BB7 mechanical disc brakes and PRO LT seatpost, handlebars and stem. The saddle and the tires were of course Brooks and Schwalbe. Last item - rims. I found a set of amazing and fantastic looking Ambrosio rims 36H. After 2-3 weeks I picked them from the post office and found out I ordered the wrong size!!! Tried to order the correct size but they were already out of stock. Given the time constraints I ordered a set of Rigida DB rims and this is what I have on this bike since. They are not bad at all.
First thing I got in the mail was the frameset:
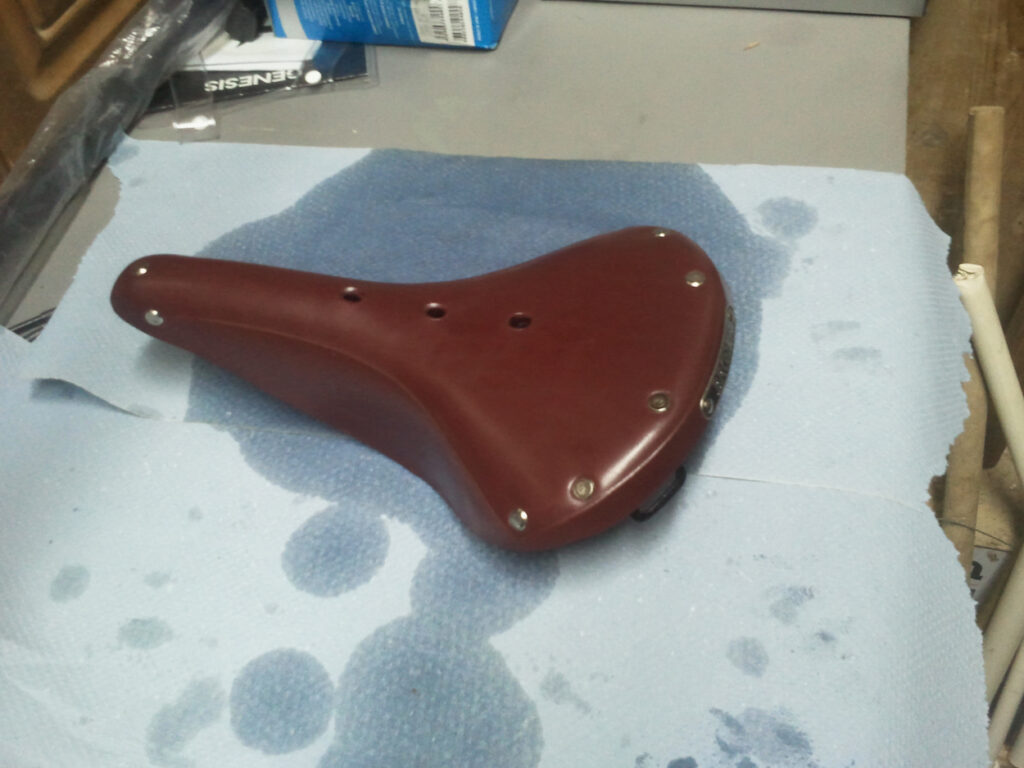
Next, the Brooks saddle. The original color of the saddle was a brownish red. After it was literally drowned in oil by the leather saddle experts it became dark brown.
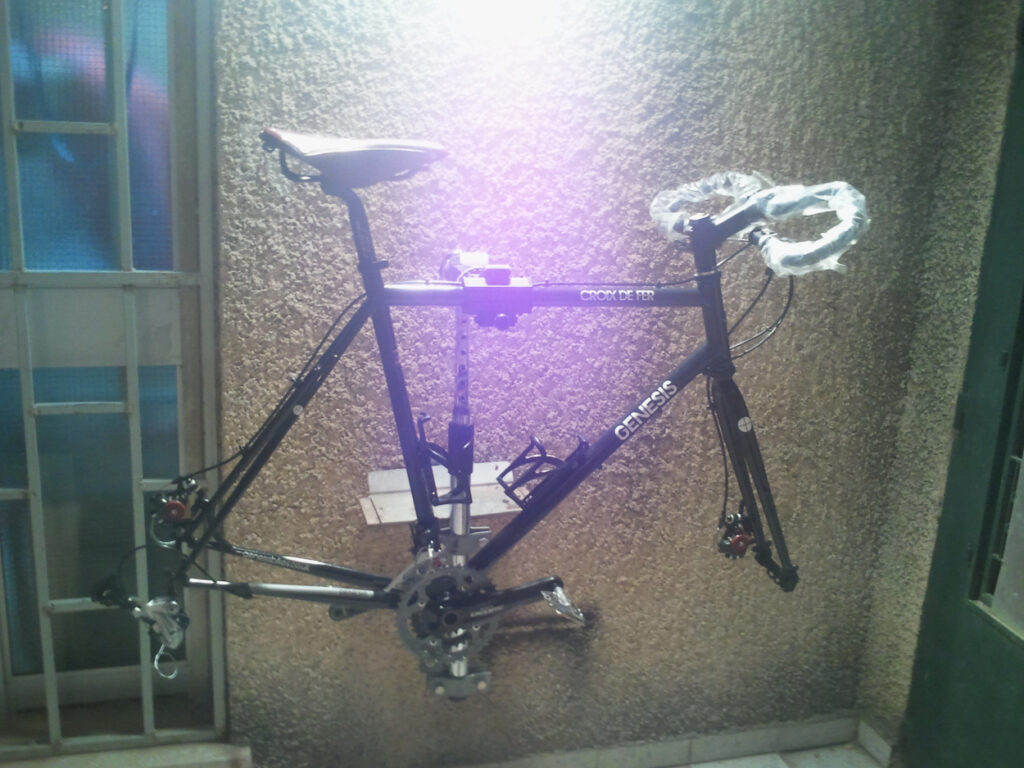
We started to assemble the bike: crankset, derailleurs, brakes, pedals.
And cables, cable guides, seatpost and saddle, stem and handlebars.
I chose a moustache (or butterfly) handlebar – very comfortable on long rides, it allows for a number of hands positions while riding.
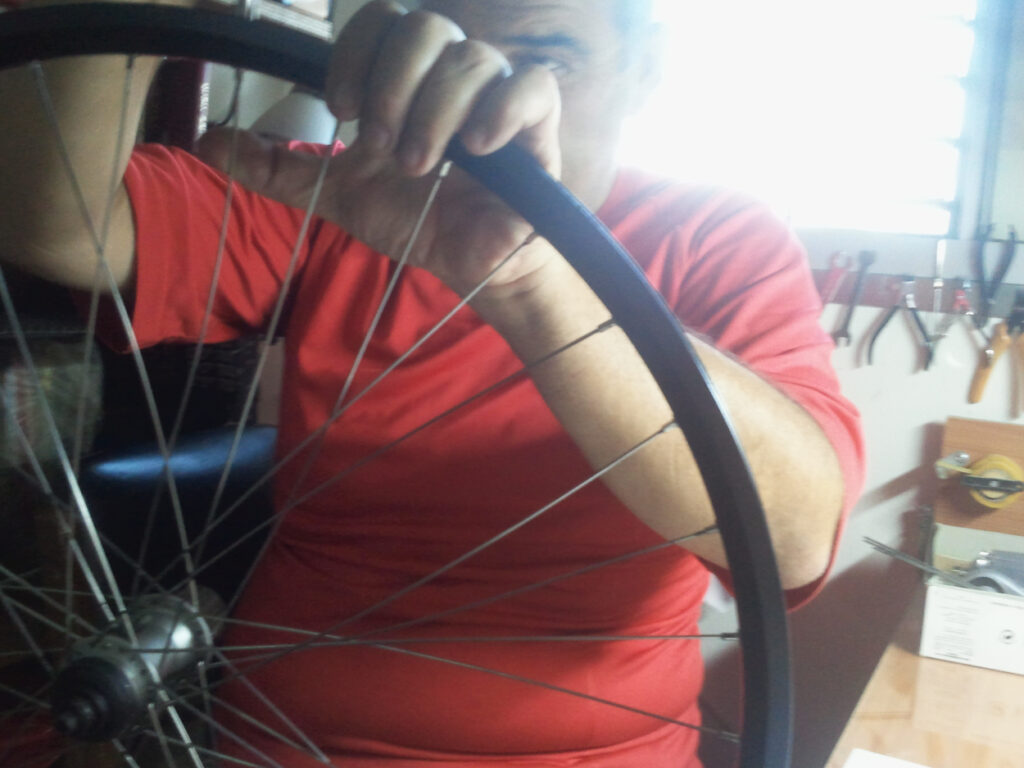
And now to the last component – the wheels. Maestro Rafi built the wheels for my bike, fist class handbuilt wheels I must say.
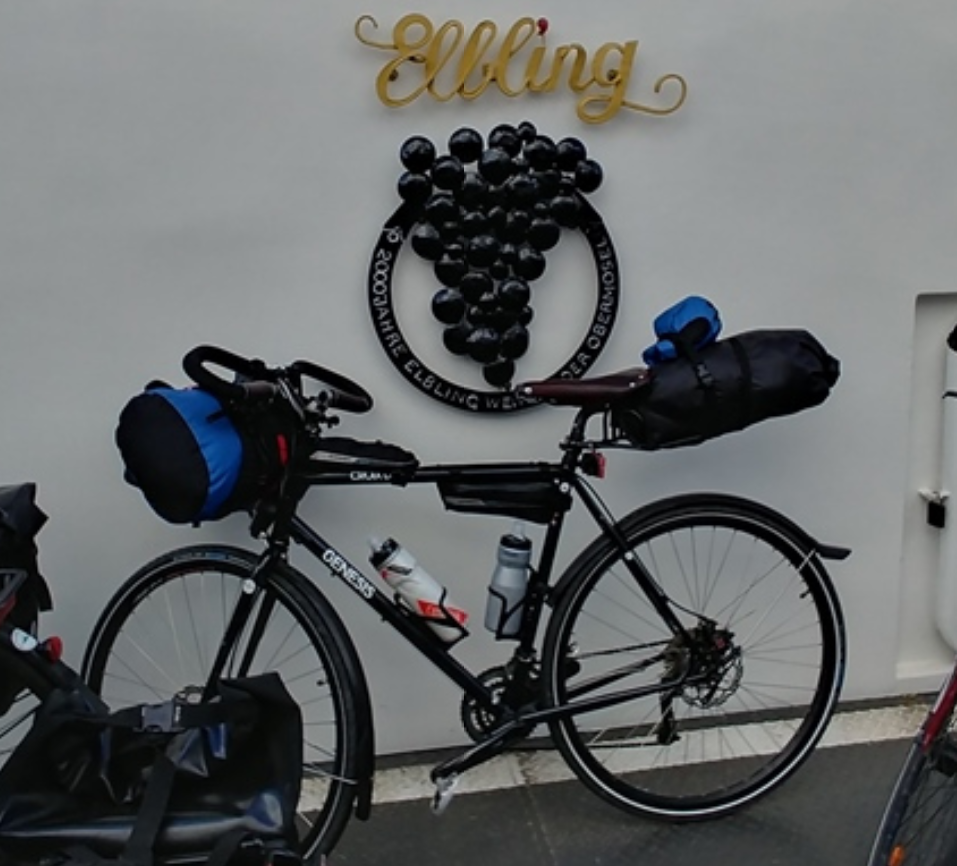
This was the end result. T took the bike for a number of test rides, I even tried it with panniers filled with water bottles – just to see how does it feel to ride with a loaded bike.
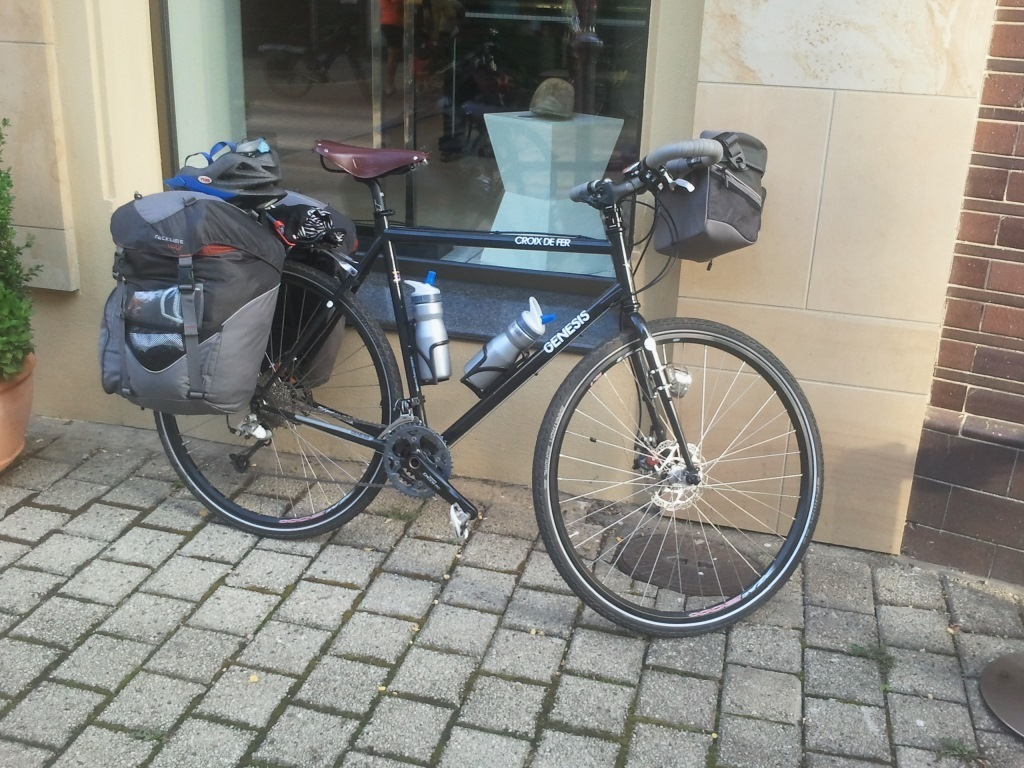
The image at the top of this post shows the bike minutes before leaving Wuppertal for the 1,000+ km tour in the summer of 2013. I had a pair of 23l panniers and a 6l handlebar bag on the bike, these 3 bags and the pannier rack weigh about 3.3 kg.
And this may become a problem. Large volume bags hold lots of stuff. I ended up with a bike that weighs 13.5 kg (including rear rack and front bag bracket) and about 11-12 kg. of equipment. This is a bit too much.
The second problem I had was the rear panniers. The bike including panniers is relatively wide so I constantly bumped into parked cars, people street signs and so on. Still, this was my setup for 4-5 years.
In January 2018 we received the annual invitation to join the Wuppertal gang during the summer tour they were planning at the time. I started to look around to see if there are alternatives to rear panniers.
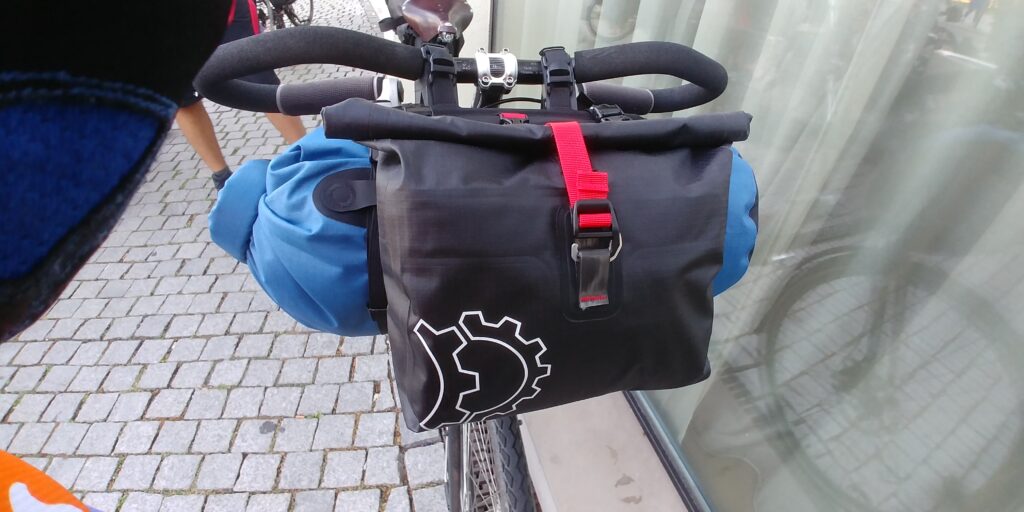
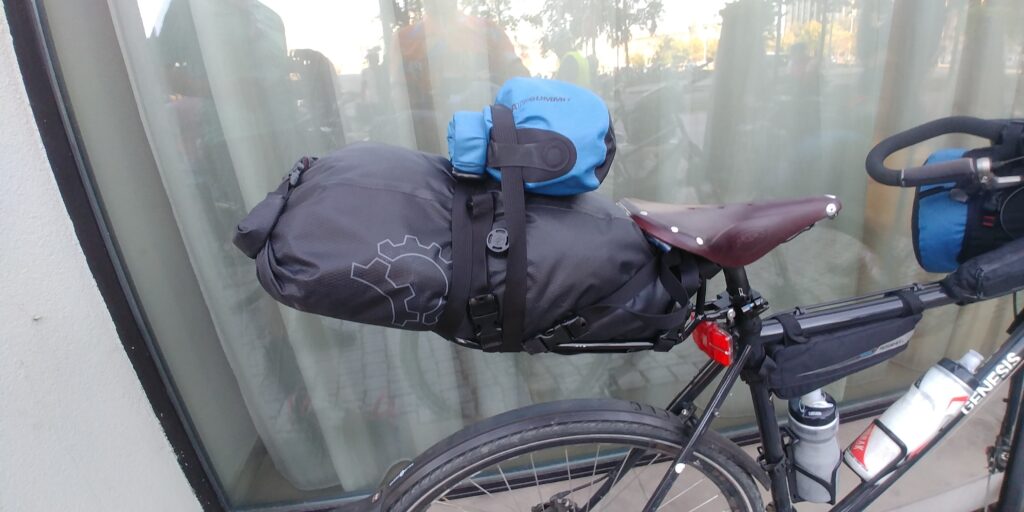
At that time bikepacking became a hot trend. Lost of bags of all sizes and shapes hit the market. I will take you straight to the end of the long, back-and-forth thinking process. I ended up with a seatpost mounted mini-rack made by PDW that carries a 14l dry bag from Revelate Designs. Also from Revelate, I got a front harness for a drybag and a small bag to carry essentials – wallet, passport, phone, glasses, etc. This bag attaches to the harness. I chose a 20l drybag, so all in all I have about 38l of volume available for all my stuff – this includes 2 small frame bags for tools, pump, spare tube. Compared to the 52l I previously had this is a significant diet.
i also learned how to choose equipment to take on these tours. Lightweight, low volume items are the key. This exercise resukted in a much lighter bike – about 2.5 kg. lighter than the original setup, and close to 4 kg. less equipment on the bike. The ride quality has improved significantly, easier on the climbs and more stable on the downhill, and I do not bump so much in everything and everyone around me.
We could not travel overseas for bike tours in 2020 and 2021. We spent time riding the local roads and hills. Also, I spent some time doing regular maintenance on my bikes. This is when I realized the chain and the cassette on my Genesis should be replaced – after being used for about 5,000 km.
But, before I started to shop for a new chain and cassette, I decided to make a much more significant change. I picked some components I had on my old mountain bike and this is how in turned out:
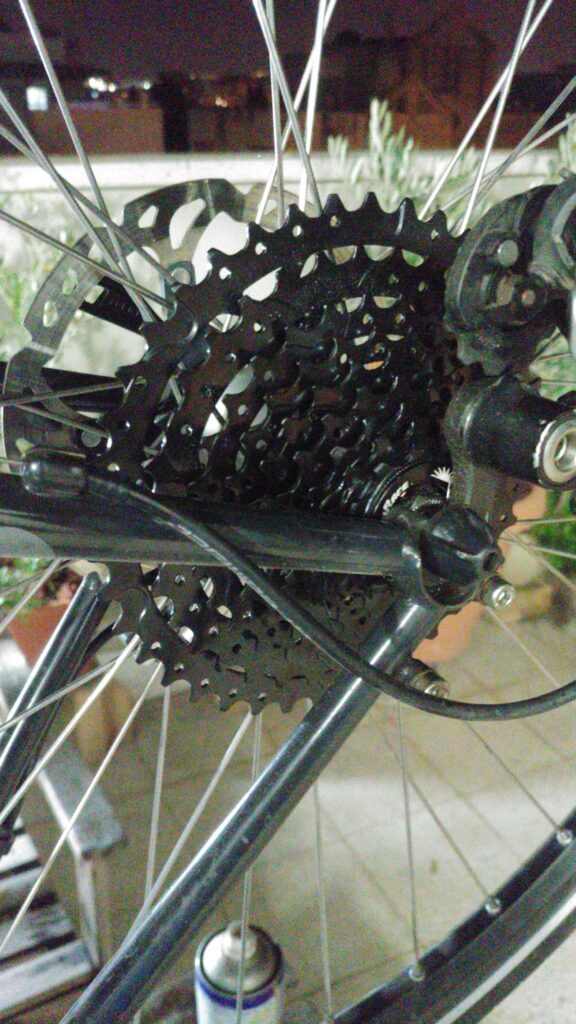
Cassette - I replaced my old Shimano Deore 11-34 with a new Sunrace 11-40 (both 9 speed); I picked this cassette over a larger cog 11-42 or 11-45 due to the weight penalty the larger cog cassettes carry. The Deore and the Sunrace weight is very similar.
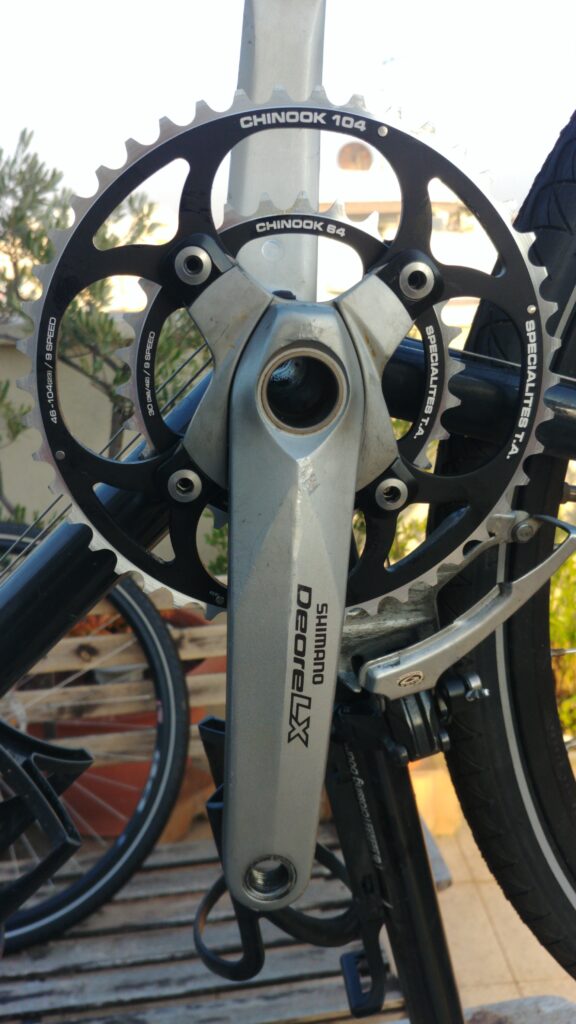
Crankset - this is the piece I am most proud of... I took my old Shimano Deore LX triple cranks, removed the chainrings and installed 2 new ones, 30T and 46T, made by Specialites T.A. I also used a set of Race Face carbon spacers instead of the third chainring, this to be able to use te original chainring bolts.
Brakes - replaced the mechanical Avid BB7 with the Shimano XT hydraulic brakes I took off my old Cannondale mountain bike
Shifters- replaced the mechanical Shimano LX STI shifter/ brake level combo with Shimano XT STI hydraulic shifter/ brake level combo. I really, really like these.
Handlebars and Stem - installed those I took of my old Cannondale mountain bike; I shortened the handlebar from 67cm to 62cm.
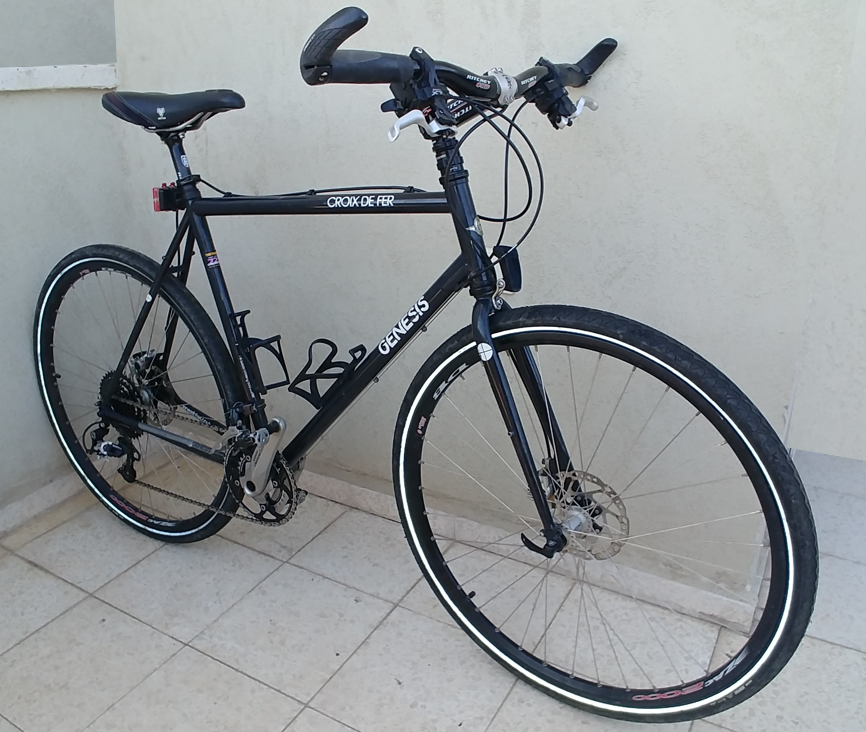
This is how the bike looks these days:
I took the bike for a few test rides on mixed terrain, paved roads, gravel roads and urban bike lanes. The ride quality is excellent, the riding position is very relaxed and the gearing ratio seems to be perfect for my riding style.
Now I have to wait for better times in regards to international travel and take this bike for a long touring adventure in a foreign country.